Where to Position Your Attic Solar Exhaust Fan for Maximum Efficiency?
Introduction
Do you want to make your house cooler and save more money on your electricity? It can be done by an attic solar exhaust fan. These environmentally friendly fans are powered by solar energy to eliminate hot air that is held in your attic and this means that heat does not accumulate and circulate in your house. However, to be able to take full advantage of it, positioning is all.
When you install your attic solar exhaust fan, you want to make sure that you do it in the right location to achieve optimum airflow, optimal temperature regulation and increased energy efficiency. In this guide, we will describe the location and placement of your fan to achieve optimal performance regardless of whether you have a small, large or even an irregular attic. And now, that being said, it is time to go deeper and make your solar-powered ventilation system work smarter, not harder.
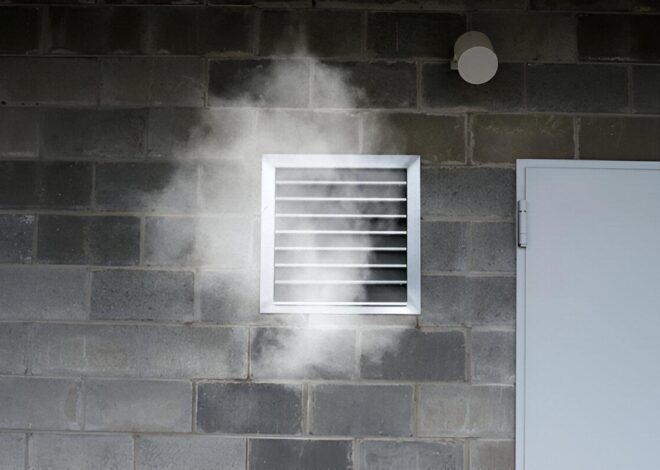
Why Attic Ventilation Is So Important
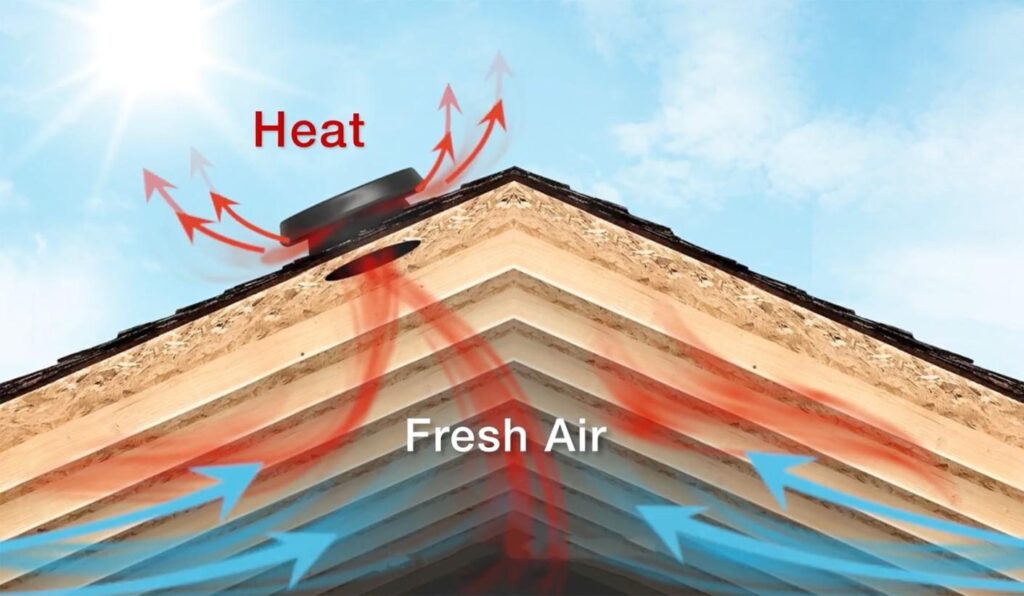
It is important to know why ventilation is important before locating the ideal position of your attic solar exhaust fan. Your attic captures hot air that is coming out of the living area. In summer, the temperature can even go to 150 degrees Celsius or higher and make your air conditioner strain. During winter, the humidity may accumulate and destroy insulation when there is poor ventilation.
The advantages of correct ventilation of the attic are:
Reduced indoor temperature: Less heat goes to lower rooms.
Energy saving: You will not have to use your AC system as regularly.
Moisture control: Cures steam, mold, and wood rot.
Extends the lifespan of the roof: Cools the area and roof structures.
Properly installed attic solar exhaust fan is a great deal to keep the home environment balanced and healthy by removing the excess heat and moisture.
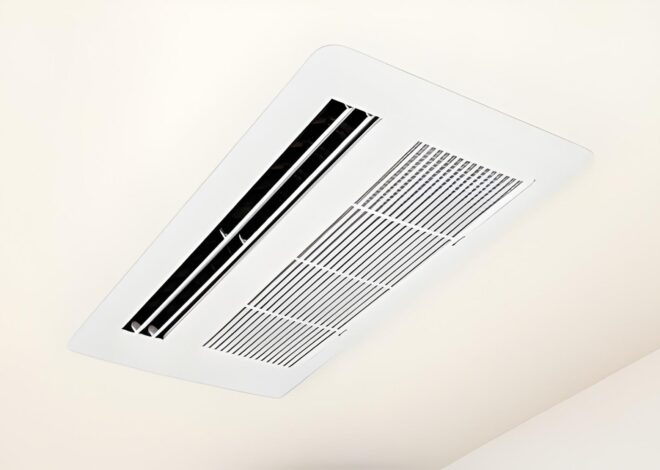
How an Attic Solar Exhaust Fan Works
An attic solar exhaust fan is an exhaust system that works on a solar panel as it has a motor and blades. It switches itself on when the sunlight reaches the solar panel and it blows hot and damp air off your attic, and lets cooler air in through intake vents.
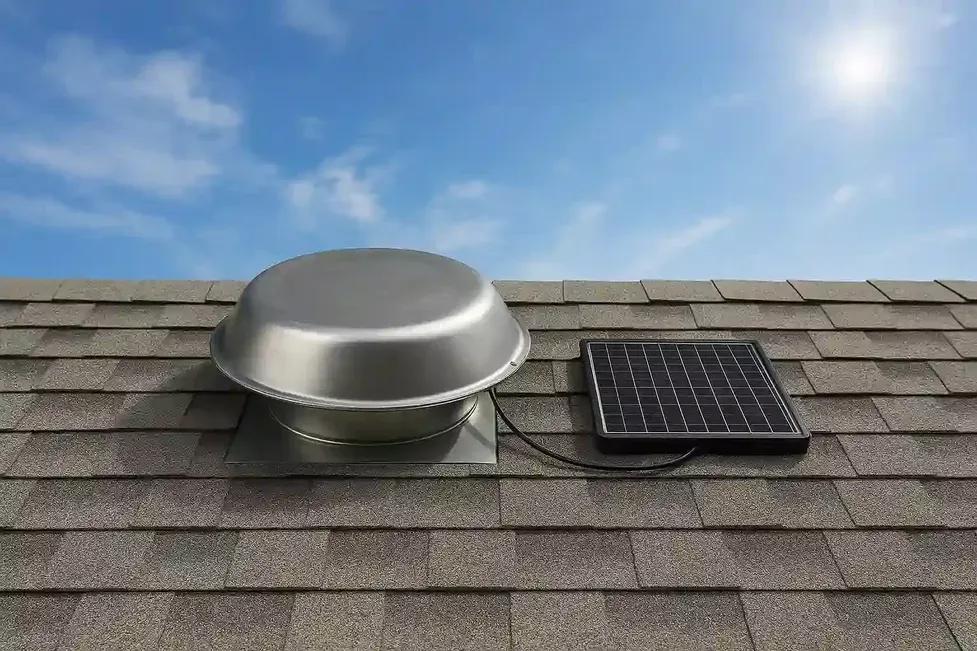
Key components:
Solar panel: Transforms light into power.
Fan blades and housing: Extract hot air in the attic.
Thermostat or control unit: There are models that have automatic temperature-based operation.
Since it uses solar energy, the fan works at the time of the day, when it is the hottest, and when it is most needed and is free to use. However, to achieve this free working, the location where the installation is done should have high sunlight exposure and air circulation.
Ideal Placement of an Attic Solar Exhaust Fan
The most effective location in placing an attic solar exhaust fan is based on the roof and the sun exposure. The aim is to take away the hot air consistently and in an even manner.
Here is a way to choose the location:
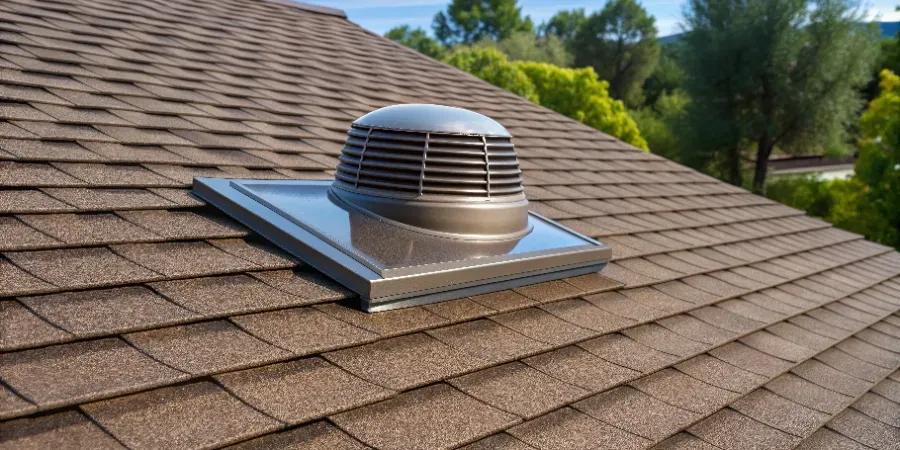
Highest point of the attic:
The hot air ascends, hence the fan needs to be set close to the ridge or 1/3 of the roof to eliminate the maximum of heat.
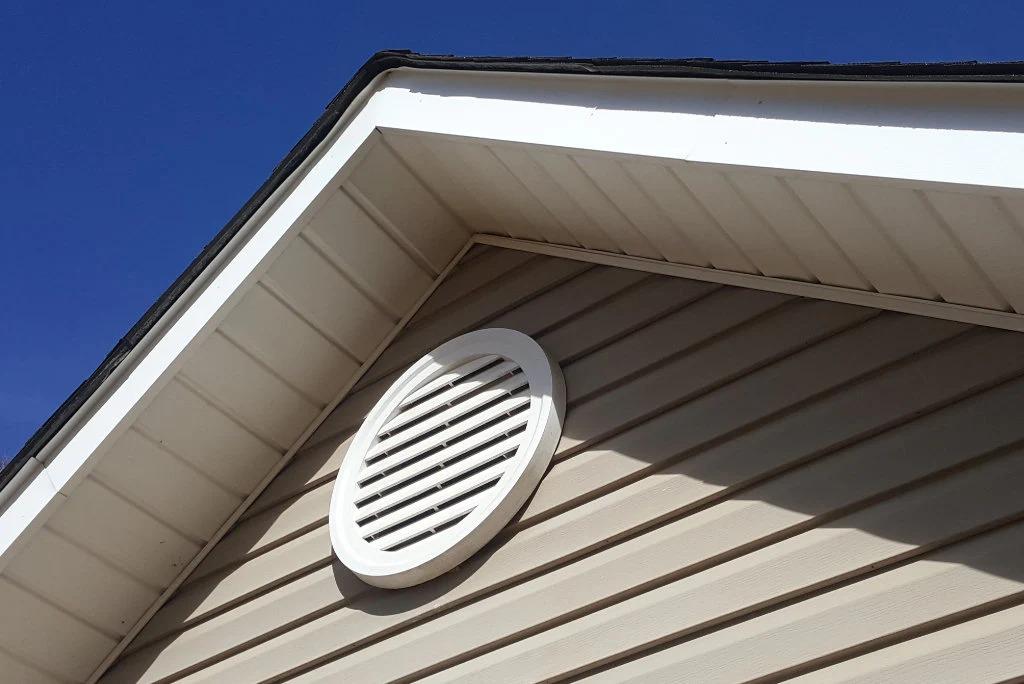
Opposite intake vents:
This allows airflow to flow continuously and the exhaust fan must be placed opposite the intake vents (as soffit or gable vents).
Sun facing side:
In the case of the solar panel, it is better to place the panel on the south facing slope (in the Northern Hemisphere) so that it catches as much sunlight as possible over the course of the day.
Central position:
The central or evenly distributed position of the big attics provides equal air movement in all the parts.
It is also important to position the attic solar exhaust fan properly so that it can be able to move the hot air as soon as possible and maintain a constant flow of air.
Positioning Based on Roof Type
There are various types of roof and each will demand a different position of your attic solar exhaust fan.
a. Gable Roofs:
The fan should be mounted on one side, at the peak of the roof, facing the sun. Ensure that intake vents should be cross ventilated.
b. Hip Roofs:
Hip roofs have slopes at all angles, this is why the fan should be set on the slope to the south with as high a point as possible.
c. Flat Roofs:
In flat roofs, the fan should be mounted slightly on a mounting base to ensure that there is enough drainage and sunlight.
d. Metal Roofs:
Apply an appropriate sealing to prevent leakages by using a fan model that fits on a metal roof. Place it in the position where the sun shines.
The correct choice of the location of your particular roof will make your attic solar exhaust fan to work effectively under every weather condition.
Determining the Right Number of Fans

The size of your attic indicates the size of the number of fans you need. The installed ones of an incoplete number will not be a better airflow, and too many will be causing lower pressure and inefficiency.
General rule of thumb:
Up to 1,200 sq. ft.: 1 fans.
1,200–2,000 sq. ft.: 2 fans
Over 2,000 sq. ft.: 3 or more fans
It can also be calculated on CFM (Cubic Feet per Minute). Division of total attic volume by 3 will give the minimum CFM rating.
As an example, say you have a 3,600 cubic feet attic, you would require a fan to move at least 1,200 CFM.
This will make sure that your attic solar exhaust fan will be efficient to take away the heat and moisture in the space.
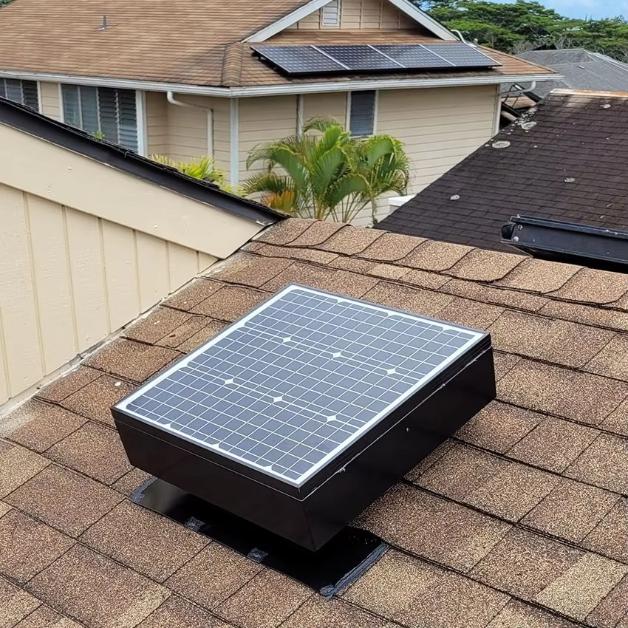
Solar Panel Positioning for Maximum Sunlight
The solar panel is the one that drives your fan hence its location is also a matter of concern. Lack of proper placement of the sun can cause a big loss in the performance of fans.
Recommended solar panel installation practices:
Turn toward the south or north towards the highest amount of sunlight.
Tilt angle: Use a more or less local latitude so that efficiency can be obtained all year round.
Shadows: Do not stay in the shade of trees, chimneys, or adjacent buildings which would prevent the sunshine.
Consider adjustable mounts: These give you a chance to adjust the angle with the changing of seasons to achieve the most favorable exposure.
In the correct location, the solar panel will make your attic solar exhaust fan operate in peak efficiency on the hottest day of the day.
Installation Steps for Your Attic Solar Exhaust Fan
After you have decided on the right location to install, it is time to install. Here is a clean detail:
Step 1: Preparation of the Tools.
This will require a power drill, jigsaw, roofing sealant, mounting screws and safety equipment.
Step 2: Mark the Location
Identify an area on the roof of your house closer to the ridging or summit. Make sure it is clear of impediments.
Step 3: Cut the Opening
Using jigsaw carefully cut an opening a little less than the base of the fan.
Step 4: Mount the Fan
Install the attic solar exhaust fan above the hole and fasten it using screw and sealant to avoid leakages.
Step 5: Install the Solar Panel
A solar panel should be mounted on the brightest part of the roof and the fan should be connected to the solar panel with the help of the given cable.
Step 6: Test the System
The fan once installed should run at the point when the sun rays the solar panel.
When your fan is installed correctly, it will work well and it will be used over a long period of time.
Common Mistakes to Avoid During Installation
Even minor mistakes will have an impact on the performance of the attic solar exhaust fan. The following are some of the pitfalls to be avoided:
Bad exposure to sun: Recklessly installing on a shady side yields less power.
Improper height of the mounted height: The height of the mounted height should not be too low in the attic since this will trap heat rather than letting it escape.
Blocked inlet vents: The fan will not be able to remove hot air because the inlet of the air does not allow this.
Poor sealing: There might be leaks of water or loss of energy.
Smaller fan: The small fan will not be capable of taking up big attics.
These problems can be avoided to ensure that your attic solar exhaust fan performs to the fullest.
Tips to Maximize Fan Efficiency Year-Round
With a few minor modifications, much more can be achieved out of your fan in any season.
For Summer:
Make sure soffits are uncovered to allow free air.
Wash the solar panel periodically to get a lot of sunshine.
For Winter:
Check the condensation and wash the fan housing.
Close or open vents when the attic is too cold.
Maintenance Tips:
Clean the solar panels after every few months.
Check roof flashing and seals once a year.
Clear debris that is Clogging vents.
Regular maintenance provides you with a consistent energy and comfort all year round courtesy of your attic solar exhaust fan.
Why Proper Fan Positioning Saves You Money and Energy
The location of your attic solar exhaust fan will have a direct influence on the energy performance of your home. When placed correctly:
It cools quicker and the temperatures indoors are reduced.
The power consumed by your AC system is less.
Materials used on the roofs are durable as they do not get heat damages.
There are no issues with moisture accumulation and insulation destruction.
This implies a reduction in energy bills, better comfort and a more sustainable home. The fan is self paying in terms of save of energy in the long run and without any maintenance.
With the appropriate placement, installation, and air circulation, attic solar exhaust fan will become among the most affordable home improvements that you can make.
Conclusion
The trick to get the most out of your attic solar exhaust fan is finding the right spot. It can be installed on a gable, hip or flat roof but as long as you achieve a maximum amount of sunlight and the maximum amount of airflow the target is the same.
With the solar panel mounted high in the roof, aimed at your intake vents, and having the panel fully expose to the sun, you will make yourself an efficient and strong system of ventilation that will keep your attic cool, your home comfortable, and your energy bills minimal.
When it is well-placed, an attic solar exhaust fan is not only a cooling system, but a place where you invest in the health, efficiency, and sustainability of your home.