Step-by-Step Guide to Installing a Wall Exhaust Fan
Introduction
Have trouble with bad ventilation, dampness or unpleasant smells in your room or kitchen? The ideal solution is a wall exhaust fan. It assists in eliminating the heat, smoke, stale air, keeping your area cool and healthy. It be it your bathroom, kitchen, or workshop, efficient air circulation can only be comfortable and safe.
Wall exhaust fan could be an expensive process to install, however, it can be done cheaply with the correct tools and directions. We will take you through all the processes in this comprehensive guide wherein we will guide you in selecting the correct fan to purchasing to the actual testing of the fan once installed. We are ready to begin and we will be taught how to install a wall exhaust fan in a smart and safe way.
Why You Need a Wall Exhaust Fan in Your Home
Wall exhaust fan: this is critical in enhancing the quality of the air. It draws out the hot, damp or contaminated air and replaces it with external air. This can avoid mold, mildew and refuse scents.
The main advantages of a wall exhaust fan are:
Improved Airflow: Stale air is eliminated, and the interior areas are kept fresh.
Humidity Control: It eliminates dampness, particularly in the bathroom and in the kitchen.
Odor Remover: Prevents the dispersion of unpleasant odors in your house.
Temperature Balance: Assists in reducing the heat inside such spaces as kitchens and garages.
Healthier Environment: It lowers the number of particles in the air and leads to a cleaner air.
Regardless of the type of climate that you are in or just an individual who wants to have a fresher air at home, the installation of wall exhaust fan will go a long way.
Choosing the Right Wall Exhaust Fan for Your Space
It is worth noting that before installation, you should choose the appropriate wall exhaust fan. The correct decision will provide effective air circulation and energy conservation.
Here’s what to consider:
Room Size: The capacity of fan in cubic feet per minute (CFM) ought to be equal to the room size.
Bathrooms: 50–100 CFM
Kitchens: 100–250 CFM
Garages or Workshops: 250+ CFM
Noise Level: Find the fans with the low sone rating, in the case, you want it to work quietly.
Energy Efficiency: Select fans that have energy saving motors or ones that have inbuilt timers and humidity sensors.
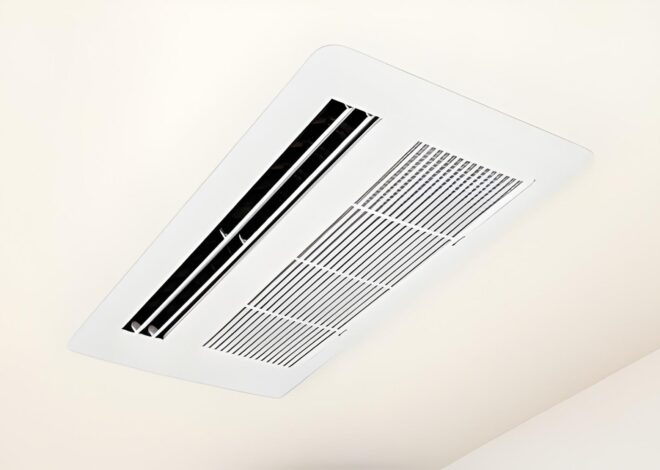
Design and Mounting: Wall fans are designed in through-the-wall or duct-type models in which you choose the wall arrangement.
Brand Reliability: The more popular brands such as Panasonic, Havells, Broan and Crompton provide reliable and efficient models.
Installation with the right type of fan can guarantee a troublefree performance and durability.
Tools and Materials You’ll Need for Installation
A wall exhaust fan does not take that much equipment. It is much more time and energy saving to have everything ready before you begin.
Critical Equipment and Supplies:
Wall exhaust fan (size and type)
Measuring tape
Electric drill
Screwdriver set
Pencil and level
Wall cutting machine (hole saw or jigsaw)
Nailing of screws and brackets.
Wire and connectors used in electric work.
Safety glasses and gloves
Sealant or (weatherproofing) silicone.
After getting such tools, you are all set to proceed to the installation process.
Preparing the Wall for Installation
The preparation is the key to making sure that your wall exhaust fan is efficient and fits well.
Step 1: Select the Appropriate Location.
Select a point on an external wall in which the air can escape. Do not keep at the corners or at any place where there are electrical wiring or plumbing. idealy, it should be placed high on the wall because hot air goes up.
Step 2: Measure and Mark
Mounting Template/ fan size Check the size of the fan housing or use the mounting template on your fan. Draw a sketch using a pencil and make sure that it is at par.
Step 3: Cut the Hole
Cut through your marked lines with a wall saw. Wear safety glasses all the time you are cutting to avoid dust reaching your eyes.
Step 4: Check the Fit
Install the fan housing into the hole to fit into it. Trim sides where needed to fit.
Proper wall preparation ensures an easy installation of fans and an enhanced air blockage.
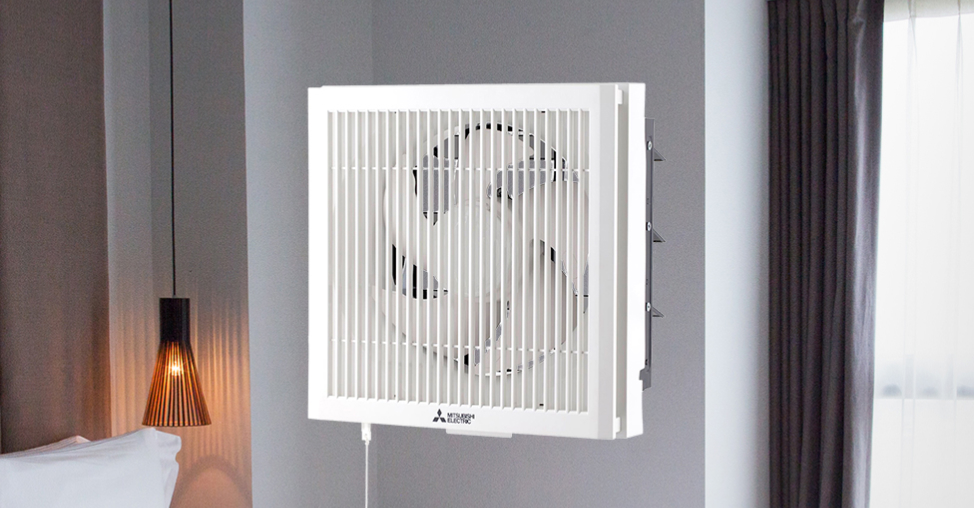
Installing the Wall Exhaust Fan Housing
Now the time has come to fit the fan housing- the primary part of the unit in which the motor and the blades are placed.
Step 1: Insert the Housing
Install the fan housing into the opening of the wall. Ensure that it is flat and is aligned to the wall surface.
Step 2: Secure the Housing
Screws and mounting brackets are required to make sure a correct fitting of the housing on the wall. Do not overtighten and this may damage the casing.
Step 3: Add Weatherproofing
Use silicone sealant on the external edges of the fan housing (exterior side) to avoid the leakage of air or water.
You can have a well secured housing that makes sure that your wall exhaust fan is efficient and operates quietly.
Wiring the Wall Exhaust Fan Safely
Installation of your wall exhaust fan involves electrical wiring which is very important. Hiring an electrician can be a good idea in case you are not used to working with electricity.
Step by step wiring guide:
Turn Off power: Turn off power on the main circuit breaker prior to working.
Connect Wires: Connect the wires of the fan to the wiring of your home, usually black, white and green.
Secure Connections: Tight, safe connections Crimp connectors and electrical tape.
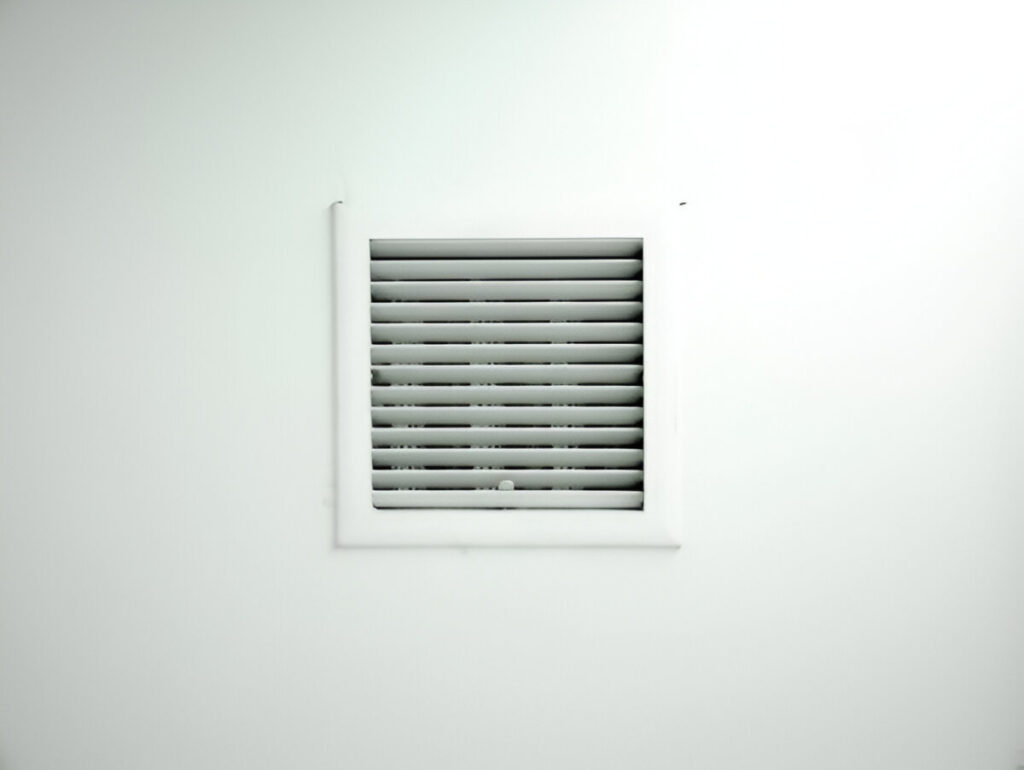
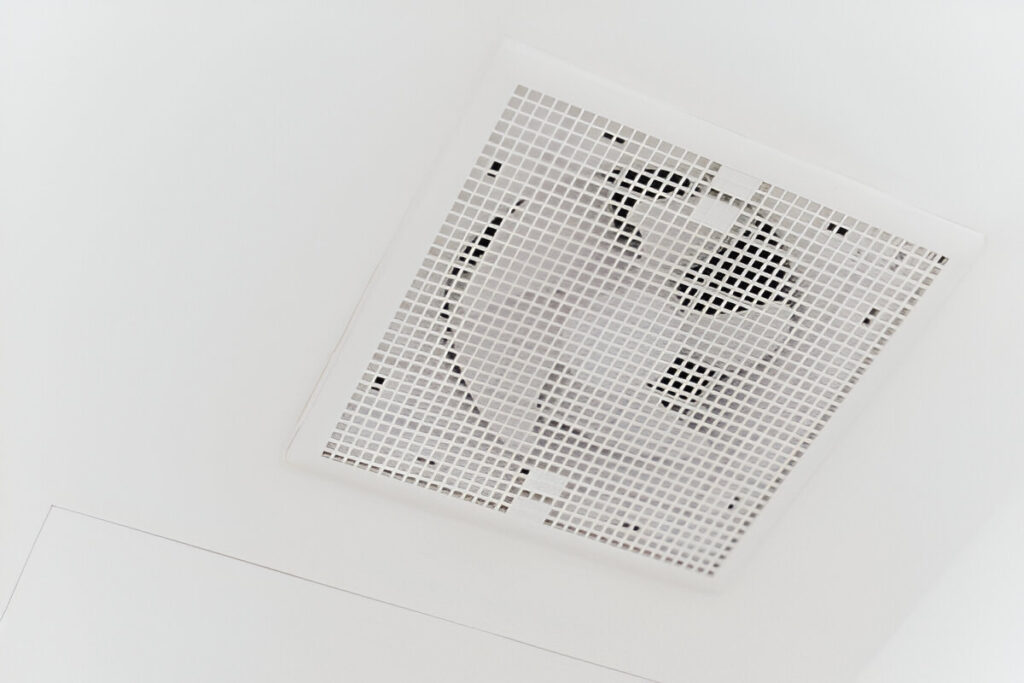
Install the Cover Plate: After wiring, screw a front cover or grille of the fan into place.
The wiring diagram provided with your fan should be checked twice to make sure your wiring connections are correct.
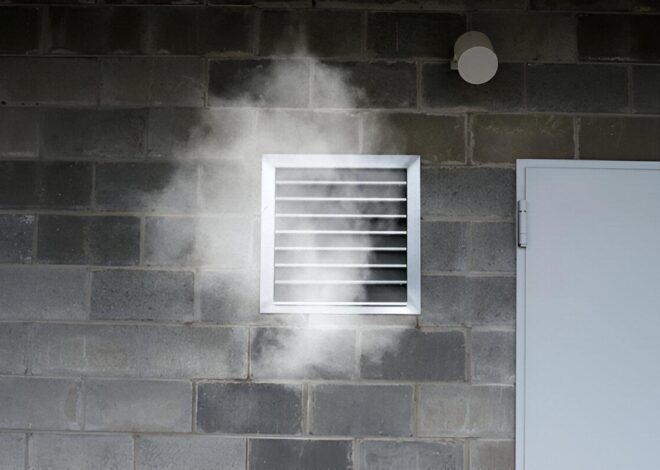
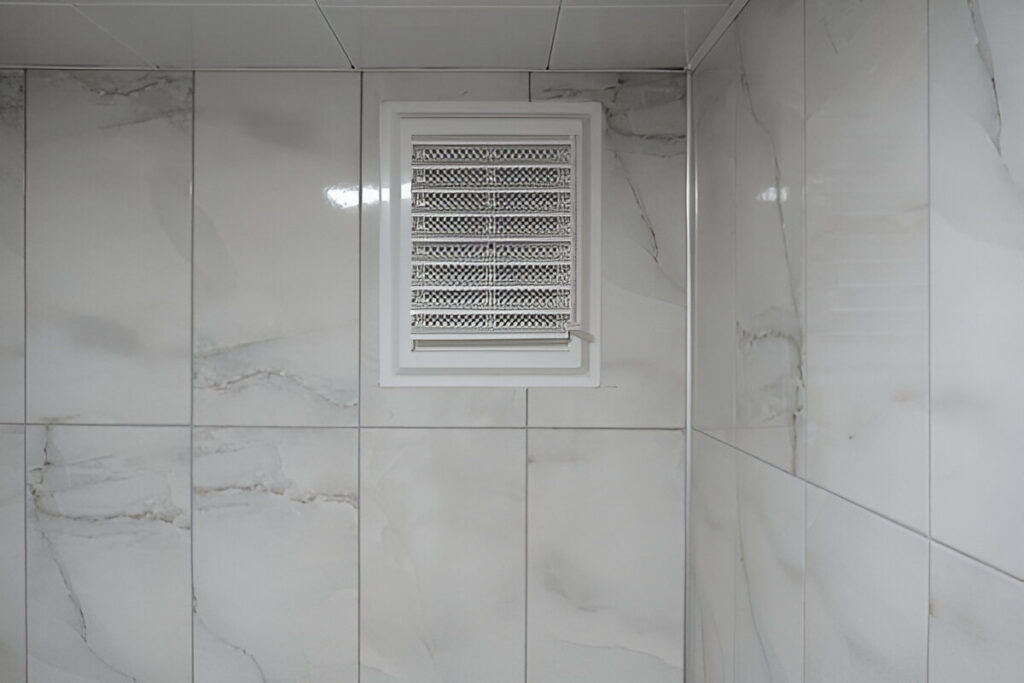
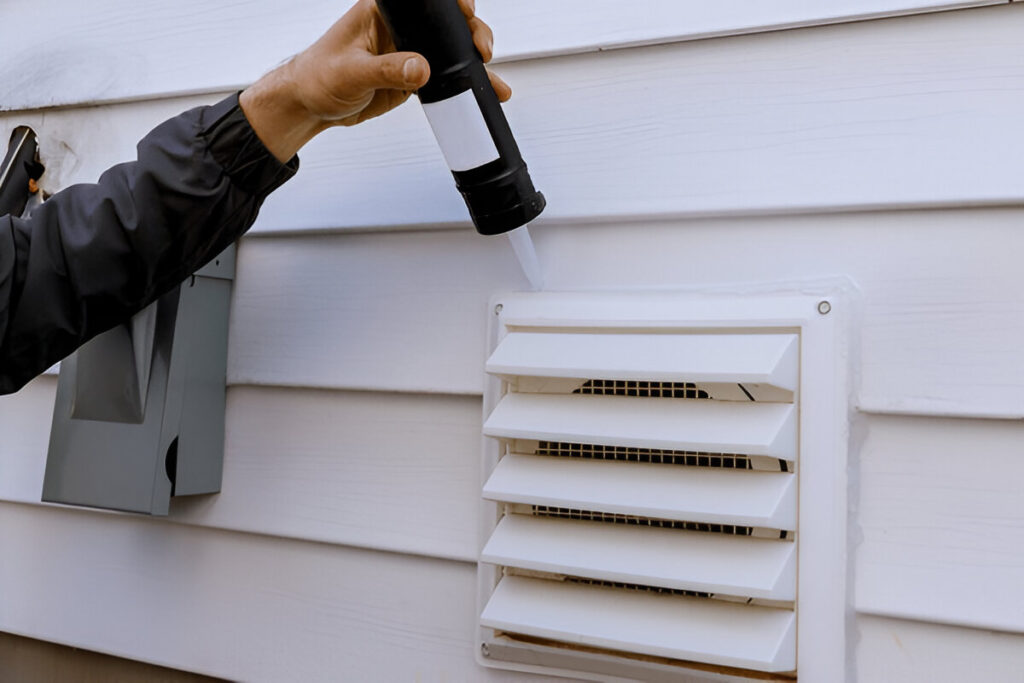
Installing the Exterior Vent Cover
The exterior vent cover enables the passage of air out but insects, dust and rain are kept out.
Installation procedure of exterior vent cover:
Install the vent hood or grille on the fan outlet or from beyond the wall.
Fasten it together with screws and provide a coating of silicone caulk along the sides.
Make sure that the flaps or grill matters are devised to enable free passage of air.
A quality vent cover will keep your wall exhaust fan safe and will increase the overall ventilation functionality.
Testing the Wall Exhaust Fan
When everything has been installed, it is time to see that everything is working correctly.
How to test your fan:
Turn on power at the circuit breaker.
Switch on the fan switch and hear that it works smoothly.
Check airflow- air must be removed vigorously using the vent.
Check that the light (and speed settings) are functioning properly.
When the wall exhaust fan is producing odd sounds or it does not start, switch off the power at once and check the wiring and mount.
Maintenance Tips for Long-Lasting Performance
Regular maintenance is required to maintain a smooth running of your wall exhaust fan.
Here is how to maintain it:
Wipe the Grills: Clean up dust at least every few months with a soft brush.
Look at Blockages: Make sure the outside vent is not blocked by dirt, leaves, or insects.
Lubricate Motor Bearings: In the event that the motor begins to make noise, apply light oil to the bearing.
Check Wiring: Once a year, inspect loose or broken wires.
Change Filters or Lights: Your fan may have a light filter or led, replace it when needs.
Even a minor check will ensure that your fan is quiet, efficient, and long lasting.
Safety Precautions and Final Checks
Electricity and cutting of walls may be dangerous. There should be safety measures whenever doing installation.
Important safety tips:
Wire before switching on power.
Check with a voltage tester to make sure that there is no electricity.
glasses and gloves during cutting and drilling.
When working with electrical connection, damp hands should not touch the conductors.
When in doubt, take the services of a professional electrician.
Lastly, when your wall exhaust fan has been installed and tested, turn it on and leave it to run at a minimum of 10-15 minutes to ensure that the air is running and that the fan is stable.
Conclusion
One of the most appropriate methods of enhancing comfort and indoor air quality is to install a wall exhaust fan. By having the right tools, safety measures and detail attention you could do it very easily yourself. Since selecting the right fan to the wiring and testing, every detail guarantees an improved air circulation in the house, a decreased level of humidity and a more healthy home atmosphere.
Then, be it your bathroom, kitchen or garage, a wall exhaust fan would allow you breathe cleaner air and feel much comfortable. These are the steps to be followed, and it would be an instant success.