
How to Install a Ceiling Fan Light Kit: A Step-by-Step Guide
Introduction: Why Buy a Ceiling Fan Light Kit to your Fan.
Need to make your room brighter, but do not need a new light? The best solution would be a ceiling fan light kit. It transforms your ordinary fan into a fashionable light source which gives you comfort and improved lighting at a single set up.
The ceiling fan light kit is simple to install and you do not need to be an electrician. You can upgrade your fan before an hour in the presence of the right tools and a couple of easy steps.
Here, you would get the idea on the selection of the light kit, the connections of the wires in a safe way, and also installation of the light kit, step by step. Go on and transform your room to be more illuminated, practical and efficient in terms of energy use with what you already have, a ceiling fan.
Why Install a Ceiling Fan Light Kit to your Fan.
One of the easiest methods to enhance the lighting in your house and make your home a better place to be in is with a ceiling fan light kit. You can also add a light kit to your fan and obtain cooling and lighting in a single location instead of using an external ceiling light.
In addition to space saving, this upgrade will lower the electricity bills since you are utilizing the available power line. It also makes your fan fashionable and stylish, which fits the decoration of your room.
You may wish to have more light in your living room, bedroom or office a ceiling fan light kit is an inexpensive DIY project that will immediately improve your house.
Supplies and Equipments
All the tools and materials required should be collected before the installation commences. Being prepared will facilitate the process and be safe.
You’ll need:
An appropriate ceiling fan light system.
Screwdrivers (flathead screeder, Phillips)
Electrical tape or wire connector.
Voltage test, electric test.
Ladder or stool
Safety gloves and glasses
Optional but helpful items:
An incandescent torch to enhance light.
User guide to your ceiling fan.
Purchasing the light kit, make sure that you have a model of the fan, and it supports a light kit. This information may be typically available in the manual of the fans or on the site of the manufacturer.
Check Compatibility of the Light Kit and Fan
A light kit is not supported by all fans and therefore, this is a crucial move.
The way to check compatibility is as follows:
See the center bottom (called the switch housing) and that of your ceiling fan. In case you have a metal cap or a small cover, then it is probably holding a light kit.
FansFind the model number of your fan and ensure that you can find matching ceiling fan light kits online.
Others have light kit adaptable labels or a small plug beneath the cap.
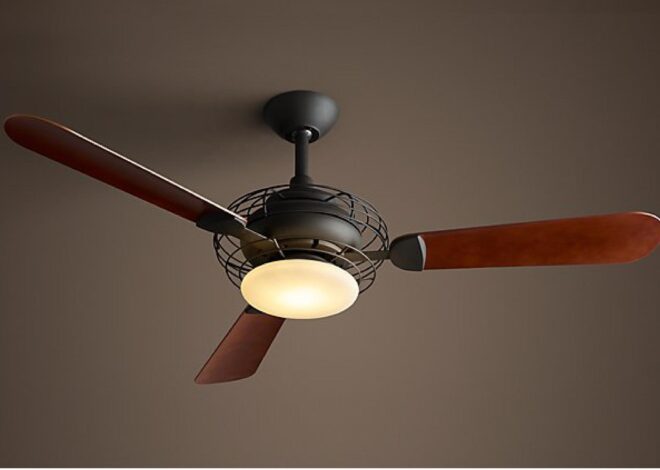
The style (bowl, dome or multi-light), brightness, and type of bulb (LED, CFL or incandescent) are matters that should be considered when selecting a light kit. The correct choice of kit provides the sure fit and performance effectiveness.
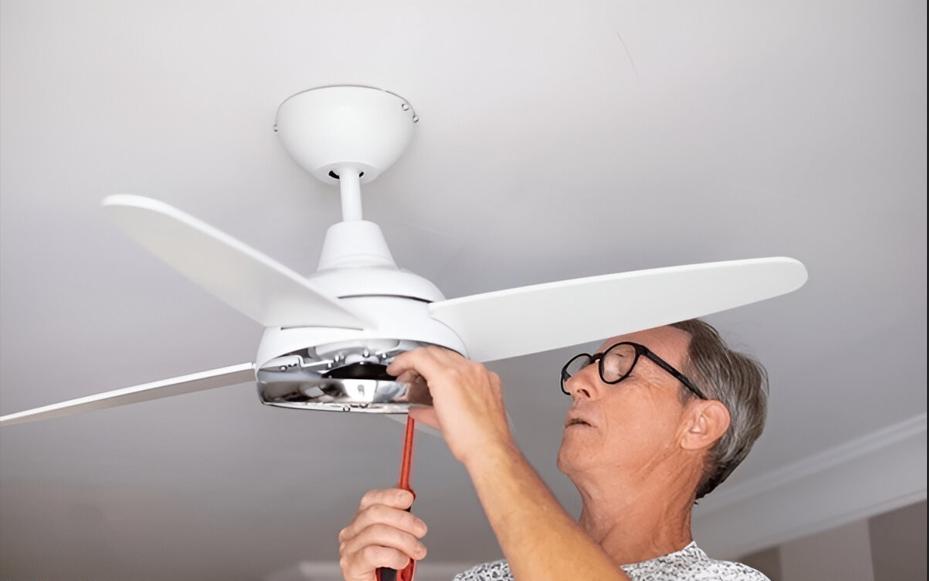
Turn Off Power and Prepare for Installation
The first thing when touching electrical connections should be safety.
Always turn off the power to the fan, first of all, by going to the main electrical panel of your house. A voltage tester should be used to ensure that no current is passing through the wires.
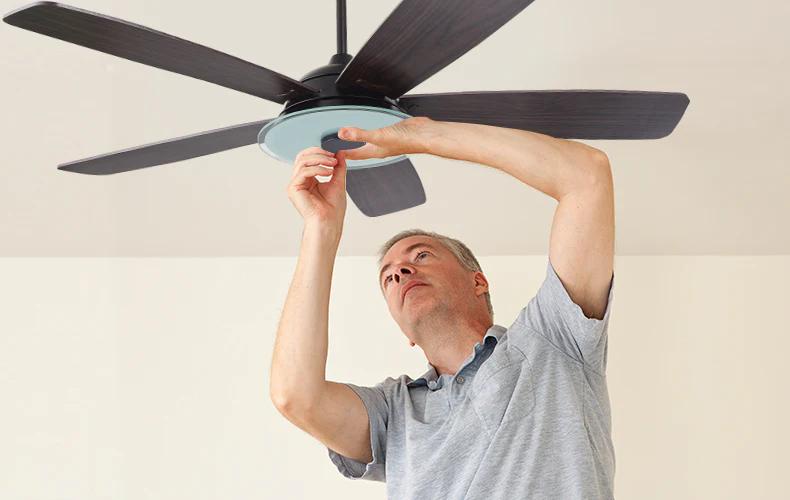
After the power has been shut off, remove all any decorative covers or plates at the bottom of the fan. This will allow you to access the wiring section in which you will fit the ceiling fan light kit.
Keep a ladder steady and ensure that the place is bright. These steps can assist you to be safe at work and prevent electrical shocks.
Remove the Fan Cap or Decorative Plate
In the center bottom of most of the ceiling fans is a small plate made up of metal, or an ornament or a decoration. This top conceals the wiring connection which is to be attached to the light kit.
To remove it:
Stop the fan blades by holding.
With a screwdriver, loosen the screws on the cap very carefully.
Carefully remove the plate and you will now find a set of wires in it (they are usually blue or black and white).
These are the wires which supply your ceiling fan light kit. To touch them and ensure that they are not ruined. In case of dust or debris before going on, wipe it off.
Connect the Wiring for the Light Kit
The next stage is the most crucial one connecting the wires in the right way.
The lighting kits that are sold as ceiling fan lights have a set of clear instructions, but the following is the broad outline:
Connect the black (or blue) wire of the fan with the black (or blue) of the light kit, this is the power wire of the light.
Use the white population in the fan to the white population of the light kit that is the neutral line.
Cover every connection with either wire connectors or electrical tape.
Ensure that no bare wires are exposed and make sure that all connections are hard. The loose connection might lead to the dimming of light or no turning on.
In case of remote control or wall switchable fan, ensure that it can control lights before restoring power.
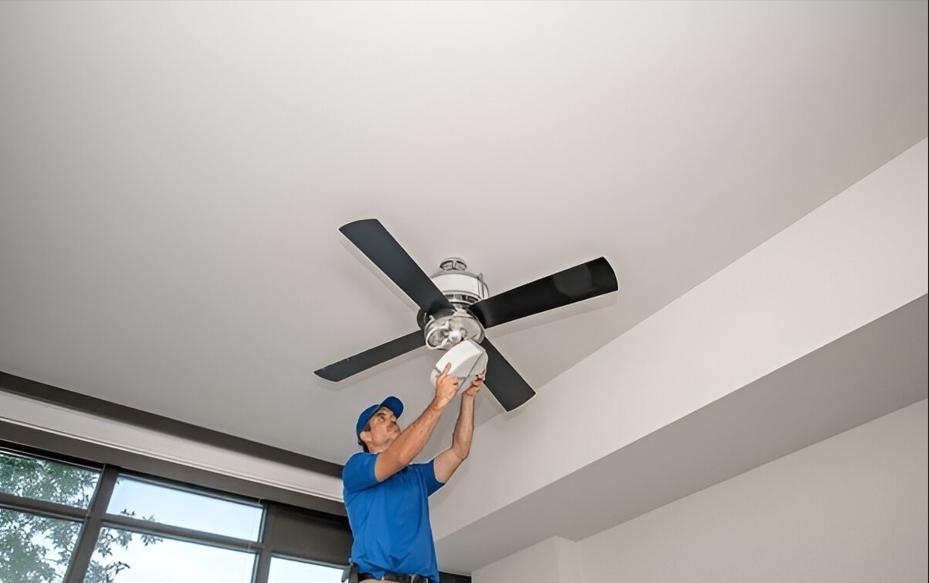
Attach and Secure the Light Kit Assembly

Once wired it is time to attach the light kit to your fan.
Follow these steps:
Fit holes of the light kit with holes of the housing of the fan.
Install the light kit with the help of given screws.
When fixing, do not tighten too much, the light socket can break or strip the screw thread.
When attached, the kit can be gently pulled to ensure that it becomes secured. The ceiling fan light kit is well secured and will be safe over a long period of use without shaking or making noise.
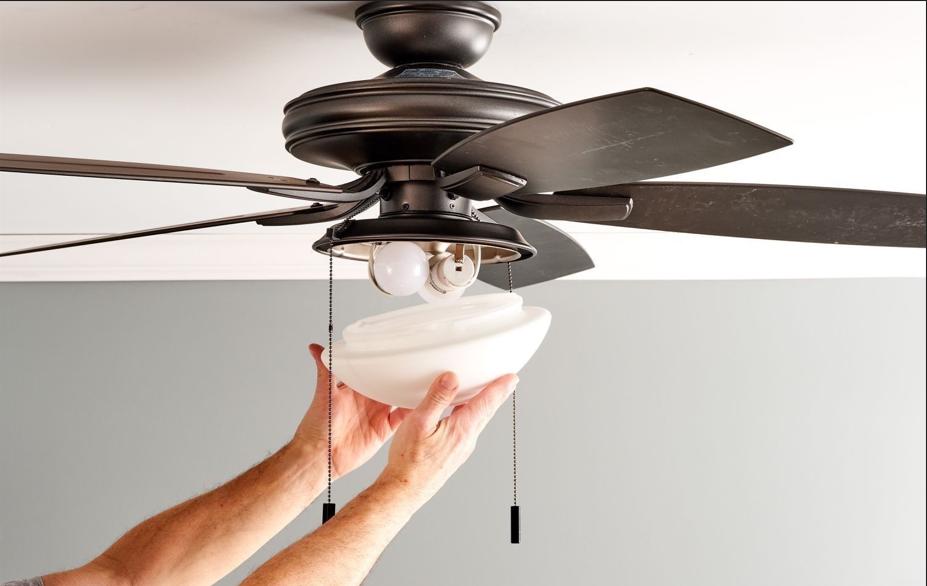
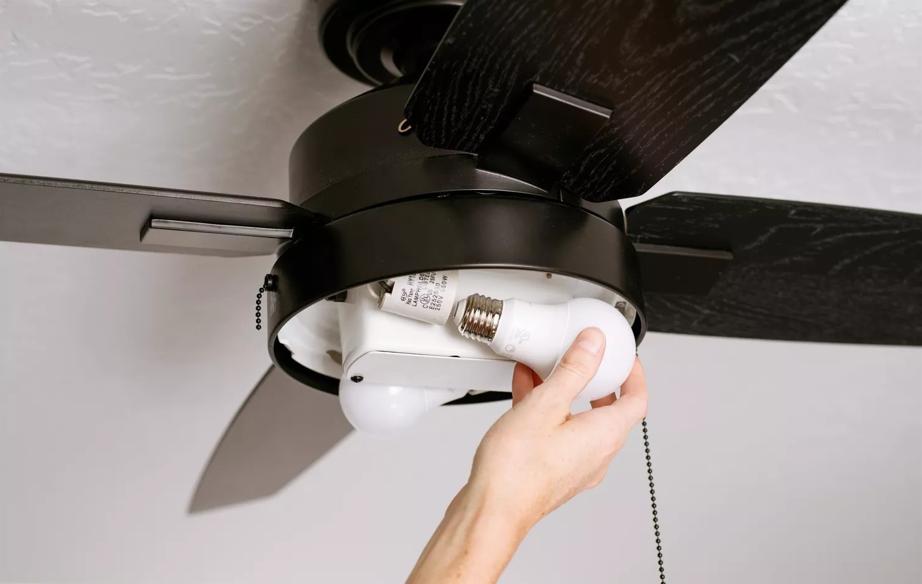
Install Light Bulbs and Shades
The final touches now may be added.
It can take a new light bulb (usually one of the LEDs or CFL) and insert it into a socket. The best option will be LED bulbs, they have a longer life and consume less power.
Glass shades or covers should be firmly attached to the screws so that they tighten evenly. Shake not too hard, glass shades are brittle.
Wipe the bulbs and shades prior to closing everything using a soft cloth to wipe off fingerprints or dust as a clean finish was required.
Restore Power and Test the Light Kit
After all that is in place revert to your electric panel and put the power back on.
Test your ceiling fan light kit by flipping the wall switch or remote control. The illuminations ought to switch on right away.
In case the light is not working, repeat these steps and switch the power off and replace your wire connections. Another tip is also to ensure that your bulbs are well installed.
It is also then the appropriate moment of testing both the fan as well as the light to ensure nothing goes wrong.
Maintenance Tips and Final Safety Check
With a bit of care your ceiling fan light kit will last you years.
Wash the light shades and fan blades every now and again using a soft cloth.
Substitute the bulbs of an equivalent wattage and kind with one that does not go overly hot.
Test the wire connecting the checks periodically, particularly when the light is flickering.
Use cleaners that are not harsh and this will not harm the light finish.
Finally, never forget to switch off power and then do all the maintenance work or change bulbs. This is to guarantee your ceiling fan and light kit last longer.
Conclusion
One of the simplest and cheapest methods of light-ening your room is by fitting a ceiling fan light kit and not paying an electrician. It only takes a few tools and a few steps to convert your fan into a nice, energy-saving lighting system which will not only make your place the cosiest but also the most valuable. Safety is always to be maintained, verify the connections of the wires twice and have the best of cooling and lighting. Your room will be even brighter, cozier.
One thought on “How to Install a Ceiling Fan Light Kit: A Step-by-Step Guide”